


Whether you’re on-boarding 1 location or 1000 locations to GroHawk, this quick guide will walk you through just how easy it is to get each of your locations up and running in minutes!
Step 1: Add your Brand!
First things first, what brand is your location operating under? Is it a single individual brand with 1 location or is it a chain of locations all sharing the same brand?
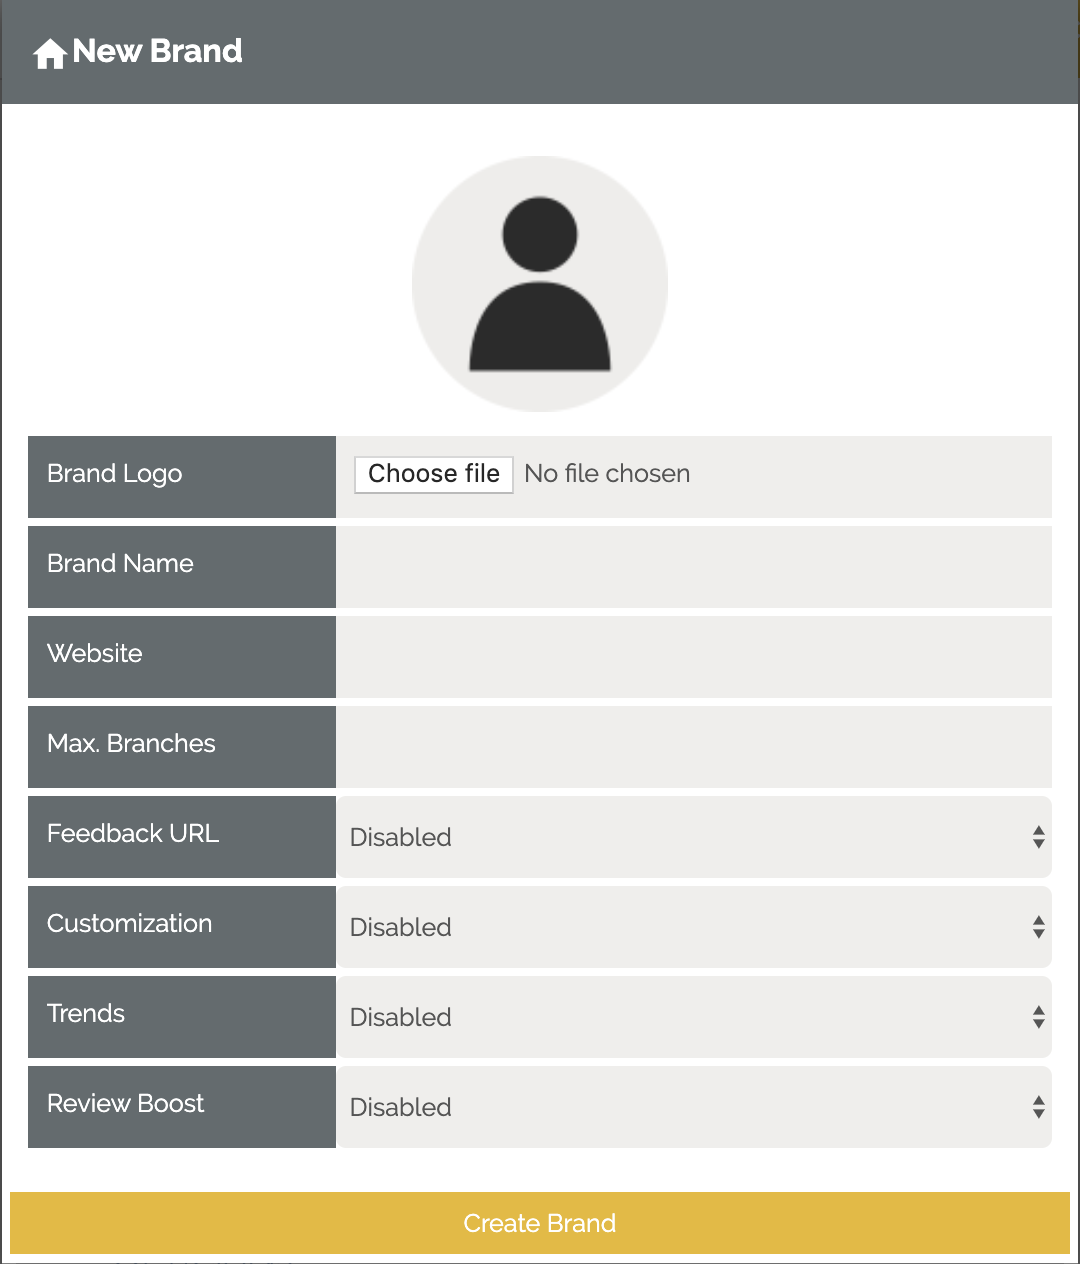
This is where you will be prompted to setup your brand:
1) Upload your brand Logo
2) Enter your brand name (Example Luigi’s Pizza)
3) Enter your website
Step 2: Set up your locations!
Set up your brand? Great stuff! Now we can go ahead and set up a location.
QUICK NOTE: If you have several locations, which have different brands, you will need to set up each different brand and then add the locations under the appropriate brand!
The beauty behind the setup of GroHawk is that whether you have 1 or many locations, the on-boarding process does not necessarily have to be coordinated across your business. You can choose to run GroHawk in a select handful of stores/locations that suit without disruption.
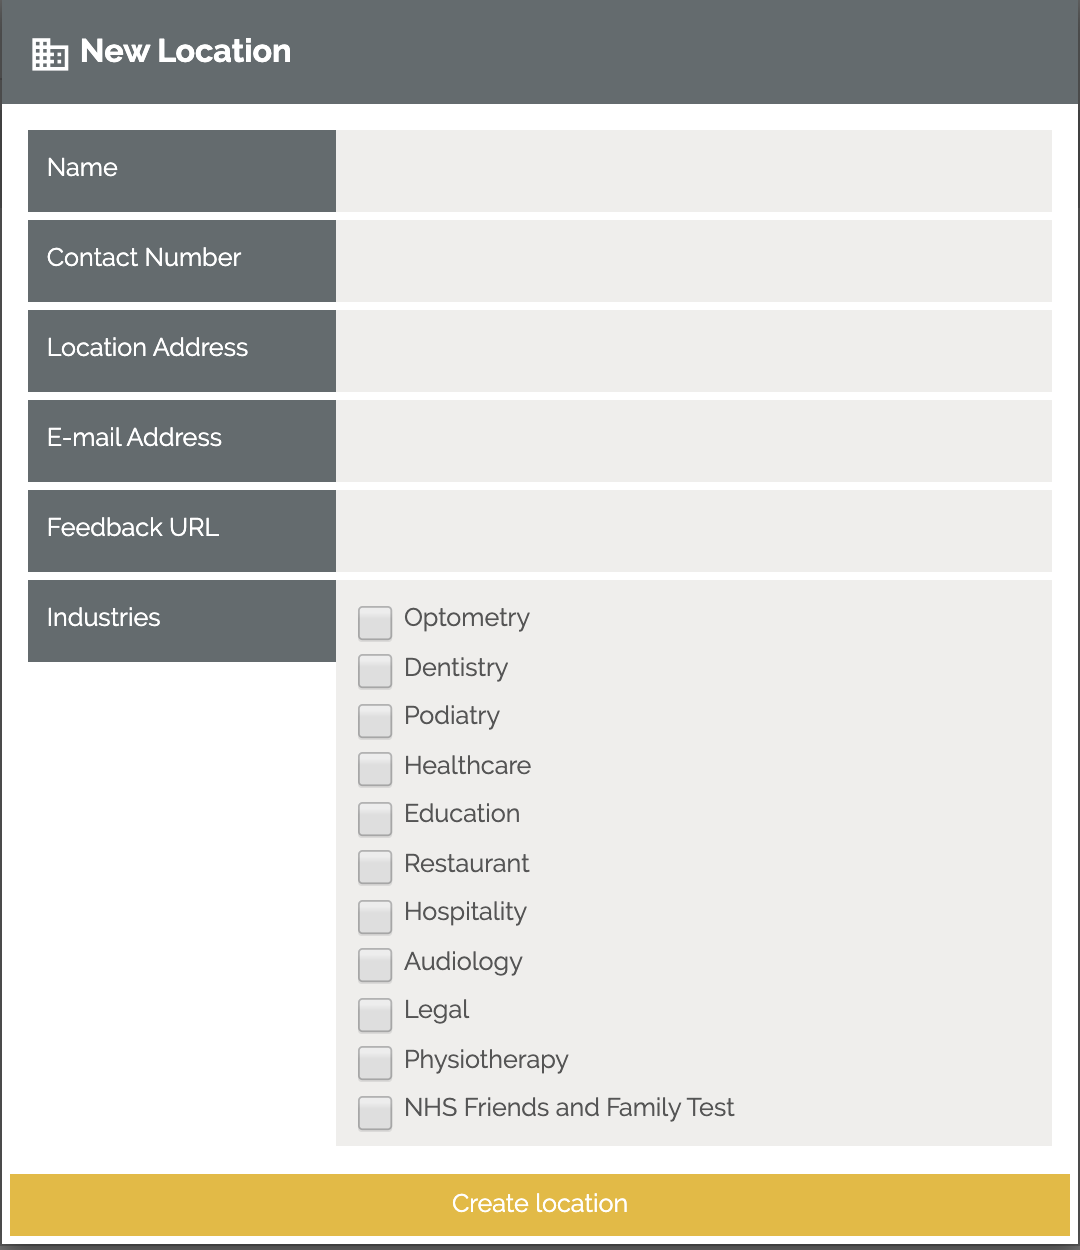
Here is what we need to add a location:
1) Name of the location (Example Luigi’s Waterloo St)
2) Contact Number – This will be the contact number for that specific location which the customer visited!
3) Location Address – This will be the address for that specific location
4) Email address – This will be the contact email for that specific location
5) Facebook ID – This is so that we can encourage your fans to leave a positive review on your Facebook
page!
6) Select your industry! If you don’t see your industry listed click “I do not see my industry” and we will get
our team onto it in a flash.
Step 3: Load some Location Managers
Right. We have our Brand. We have then added our locations. Next up, we assign some Location Managers. These are the individuals who will be responsible for receiving response notifications and managing the responses on the system. These managers will also have the ability to add their own questions onto the end of the survey.
NOTE: You have the option to copy others into all responses. For example you may have the Location Manager setup as the manager of a particular branch of your business. But you as the CEO may want to retain visibility of all responses at your head office – this is all possible within the GroHawk system.
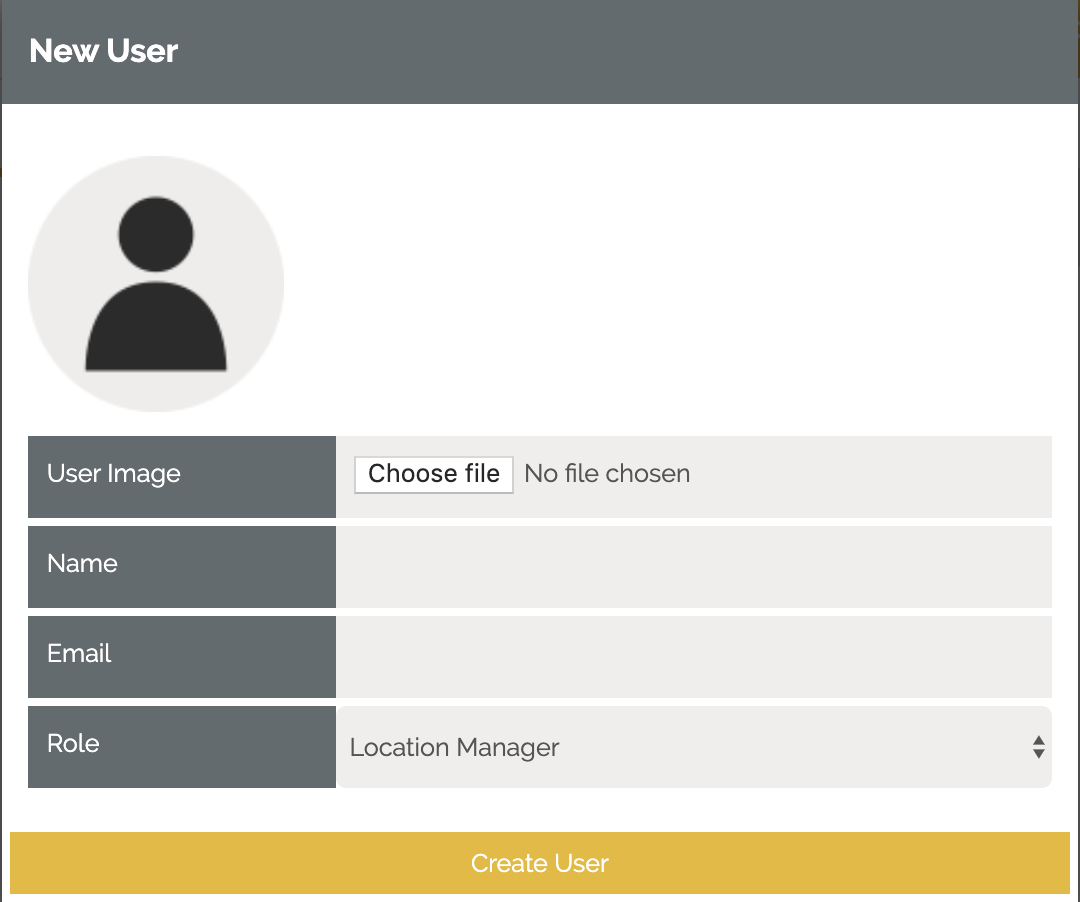
Here’s what you will need:
1) His or her name!
2) Their email address. This should be their company email.
Your Location Manager once setup will receive an email automatically letting them know you have on-boarded him/her as a Location Manager onto the system. Don’t worry – it will give them their login details and show them where to go!
Step 4: Send your first Survey!
Finally the moment we have been waiting for! I wasn’t fibbing when I said it was super simple.
1) Click on Surveys
2) Select the location you want to send a survey for.
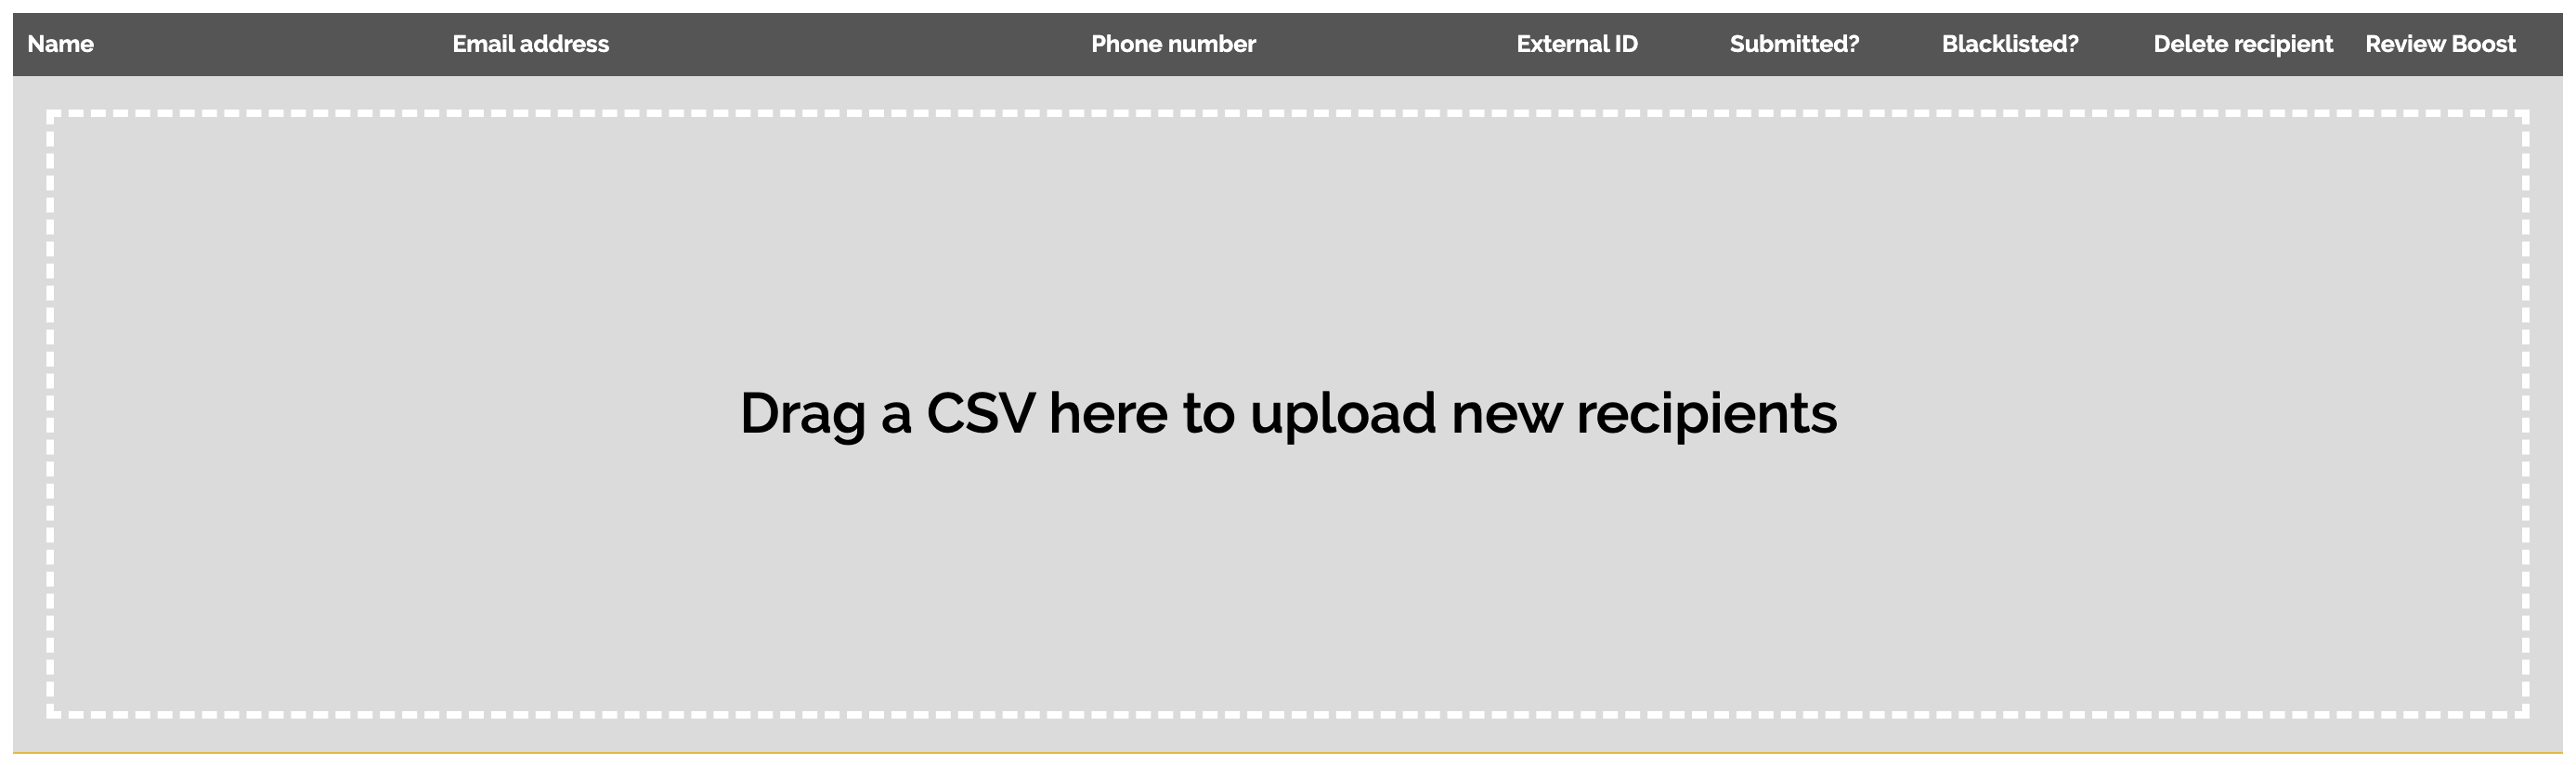
3) Take your CSV and drop it into the middle of the screen.
4) Hit “Send Survey”
THAT’S IT! Your survey will now be sent to the list of customers you have uploaded. Sit back and wait for the responses to hit your inbox!
Step 5: Monitor and Analyse Responses

Now, collecting responses is just the start – next its important we implement a plan for our team members to monitor and analyse responses! Ensure Location Managers are reading every single response and Pin those comments which are their favourite – GroHawk will then automatically feed these straight into your website via our Testimonial Widget – neat right? What about those negative results, where we may have failed to meet expectations? Well, we need to train our teams to jump on these quickly! When the responses come through which are 1 to 6, it’s important we take the time to contact the customer immediately. The email notification which will come through provides the contact details for the customer, so you can contact them directly from your mobile device even on the go!